

Products Description
Шаровая мельница для определения измельчаемости цементного сырья — это лабораторное шаровое измельчающее устройство, разработанное в соответствии с методом Бонда и используемое для определения измельчаемости (измельчаемости или индекса работы Бонда) цементного сырья.
Испытание измельчаемости цементного сырья в шаровой мельнице
Модель: SN2025-CE001
I. Введение в продукт:
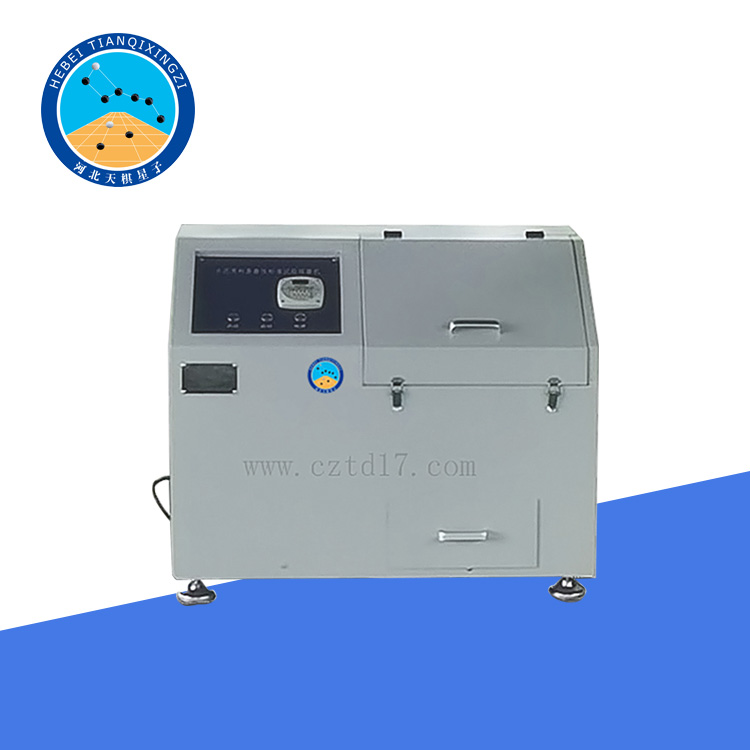
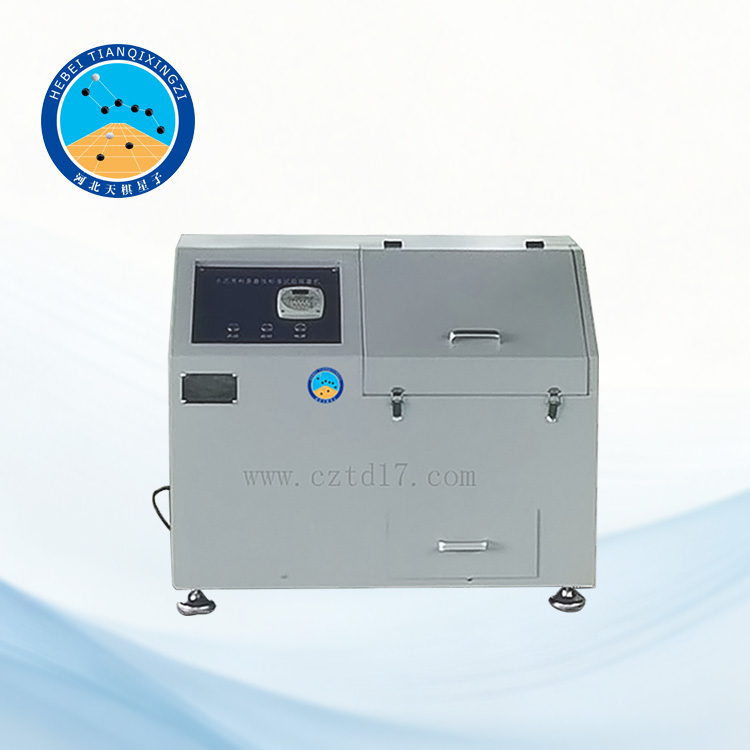
Шаровая мельница SN2025-CE001 для определения измельчаемости цементного сырья, разработанная компанией Hebei Tianqixingzi Inspection Equipment Co., Ltd., создана в соответствии со стандартом GB/T 26567 «Метод определения измельчаемости цементного сырья (метод Бонда)». Она специально разработана для лабораторий цементных заводов для определения измельчаемости цементного сырья, а также может использоваться для измельчения других материалов.
Это оборудование отличается компактной конструкцией, удобством в эксплуатации, простотой обслуживания, надежной работой, хорошими пыле- и звукоизоляционными свойствами, а также автоматическим управлением с помощью таймера.
II. Основные технические параметры
1. Внутренний диаметр и габариты шлифовального цилиндра: Φ305×305 мм
2. Скорость вращения шлифовального цилиндра: 70 об/мин
3. Вместимость загрузочного резервуара для мелющей массы: 1000 л
4. Гранулометрический состав и количество мелющей массы: (приобретаются отдельно пользователем)
Диаметр | Число |
36.5 | 43 |
30.2 | 67 |
25.4 | 10 |
19.1 | 71 |
15.9 | 94 |
общий | 285 |
5. Вместимость загрузочного резервуара для одного материала: 1 л
6. Размер частиц материала на входе в мельницу: <7 мм
7. Время измельчения: 0–30 мин
8. Мощность двигателя: 1,5 кВт
9. Напряжение питания: 380 В
10. Частота питания: 50 Гц
III. Общая конструкция. Данная экспериментальная мельница состоит из четырех основных частей: корпуса, самой мельницы, опоры и блока управления электропитанием.
1. Корпус: Корпус состоит из двух слоев стекловолоконных пластин со звукопоглощающим хлопком между ними. Он состоит из верхней и нижней крышек. Верхняя крышка имеет дверцу (2), а нижняя крышка — бункер (3) для хранения измельченного материала. Корпус и вал мельницы герметизированы торцевыми заглушками (7), снабженными войлочными кольцами, что обеспечивает хорошую звукоизоляцию и пылезащиту.
2. Мельница: Мельница состоит из цилиндра (5), крышки дверцы мельницы (4), подшипников и подшипников (8), муфты (10) и редуктора (11). Она является основной частью для измельчения материалов. При разгрузке крышка мельницы заменяется разгрузочной пластиной с сетчатыми отверстиями для соответствия требованиям разгрузки.
3. Опора: Опора представляет собой стальную конструкцию, состоящую из мельницы (9) и двигателя (12), и используется для поддержки корпуса, мельницы, электроредуктора, блока управления и т. д. В нижней части основания мельницы имеются четыре отверстия для болтов диаметром 20 мм для крепления всего комплекта оборудования.
4. Блок управления: Состоит из кнопок, комбинированных переключателей, термореле, реле времени, комбинированных переключателей и т. д. Время измельчения установлено на заводе на 30 минут, и пользователи могут свободно регулировать его в зависимости от тонкости помола материала. Дверцу мельницы можно открыть только после остановки мельницы. Если дверца мельницы не совпадает с дверцей корпуса, используйте переключатель для выравнивания.
IV. Установка и пробный запуск
1. После распаковки испытательной мельницы тщательно протрите всю машину. Тщательно проверьте, не повреждены ли во время транспортировки редуктор, двигатель, мельница, корпус, опоры подшипников и т.д., а также не ослаблены ли крепежные элементы. При необходимости затяните их. Затем, при подъеме, тросы следует привязывать к основанию, а не к корпусу, валу или двигателю, чтобы избежать повреждения деталей.
2. При установке сначала очистите от масла и грязи опорную плиту. Поверхность цементного основания должна быть ровной. После того, как опора будет установлена устойчиво, закрепите ее анкерными болтами (для выравнивания допускаются стальные прокладки).
3. Перед началом пробной эксплуатации проверьте мельницу и корпус. При обнаружении контакта отрегулируйте его, чтобы предотвратить столкновение. Убедитесь, что дверца мельницы плотно закрыта и не болтается. Проверьте смазку корпуса подшипника и редукторного двигателя. Если смазочное масло отсутствует, долейте масло до уровня, указанного в смотровом окне.
4. Вручную проверните мельницу более чем на один оборот, чтобы проверить наличие столкновений, заеданий или других неисправностей.
5. Включите питание и проверьте мельницу. Мельница должна вращаться по часовой стрелке (если смотреть слева направо с передней стороны испытательной мельницы). После запуска, если направление вращения не соответствует требуемому, отключите электропитание. После остановки двигателя поменяйте местами любые два провода питания и перезапустите мельницу. Испытательная мельница должна хорошо работать в режиме холостого хода, прежде чем постепенно увеличивать нагрузку.
V. Порядок работы
1. Взвесьте сырье, гипс или другой материал, подлежащий измельчению.
2. Измельчите материал перед подачей в мельницу, чтобы размер частиц был менее 7 мм.
3. Очистите корпус мельницы от остатков материала, затем засыпьте измельченный материал.
4. Затяните дверцу мельницы и закрепите зажимную гайку, убедившись, что дверца не смещена и не протекает. Затем закройте дверцу корпуса.
5. Отрегулируйте время измельчения в соответствии с требованиями. Не регулируйте время во время работы мельницы.
6. Начните измельчение.
7. Если в процессе измельчения требуется отбор проб для определения тонкости помола или удельной поверхности материала, дверцу мельницы следует открыть для отбора проб через 2-3 минуты после остановки машины и оседания порошка. Если дверца мельницы не совпадает с дверцей корпуса, ее можно отрегулировать с помощью рычажного выключателя.
8. По истечении заданного времени измельчения мельница должна автоматически остановиться. После остановки установите перфорированную пластину на место и перезапустите мельницу для выгрузки материала до его полной выгрузки.
9. Примерно через 5 минут бункер можно снять для сбора измельченного материала.
10. При измельчении материалов со специальными требованиями, перед измельчением в цилиндр мельницы следует поместить сухой шлак или песок и измельчать их в течение 5 минут, чтобы очистить материал от прилипших к стальным шарикам частиц.
VI. Техническое обслуживание
1. Регулярно очищайте пыль с внешней поверхности мельницы и внутренней поверхности корпуса.
2. Регулярно проверяйте все крепежные элементы; если какие-либо из них ослаблены, незамедлительно затяните их.
3. Регулярно осматривайте систему смазки. Меняйте редукторное смазочное масло (машинное масло № 40) каждые три месяца, а подшипниковую смазку (на основе кальция или кальция и натрия) каждые шесть месяцев.
4. Во время работы регулярно проверяйте наличие посторонних шумов, ударных звуков, чрезмерного повышения температуры двигателя редуктора и подшипников, дыма или неприятных запахов. При обнаружении чего-либо подобного немедленно отключите электропитание, найдите причину и устраните неисправность, прежде чем возобновлять работу.
5. Регулярно проверяйте все прокладки и уплотнительные кольца на крышке дверцы мельницы 4 и незамедлительно заменяйте их, если какие-либо из них повреждены.
6. Держите блок управления сухим и регулярно проверяйте контакт питания; обеспечьте надежное заземление.